How to Install Minecraft Plugins
Minecraft plugins allow you to add custom features and enhance your server experience. There are two main methods to install plugins on your server:
Option 1: Install Plugins Through Our Control Panel
Option 2: Manual Installation via Plugins Folder
Important: Your server must support plugins (e.g., Paper, Spigot, or Bukkit). Vanilla servers do not support plugins and attempting to install them will not work.
Follow these steps to manually upload plugins to your Minecraft server:
- Access Your Server Files
Log in to your server using FTP or the Files tab in your control panel.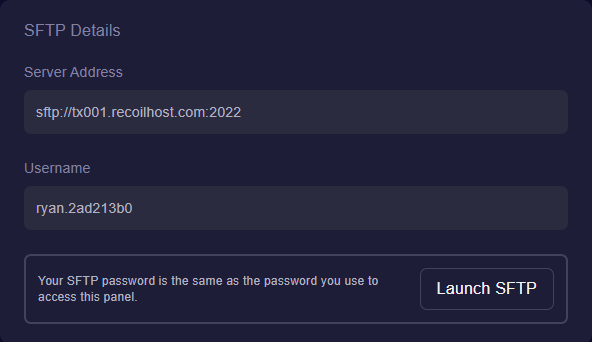
- Locate the Plugins Folder
Navigate to thepluginsfolder in your server directory.If this folder does not exist, start your server once to generate the default directories.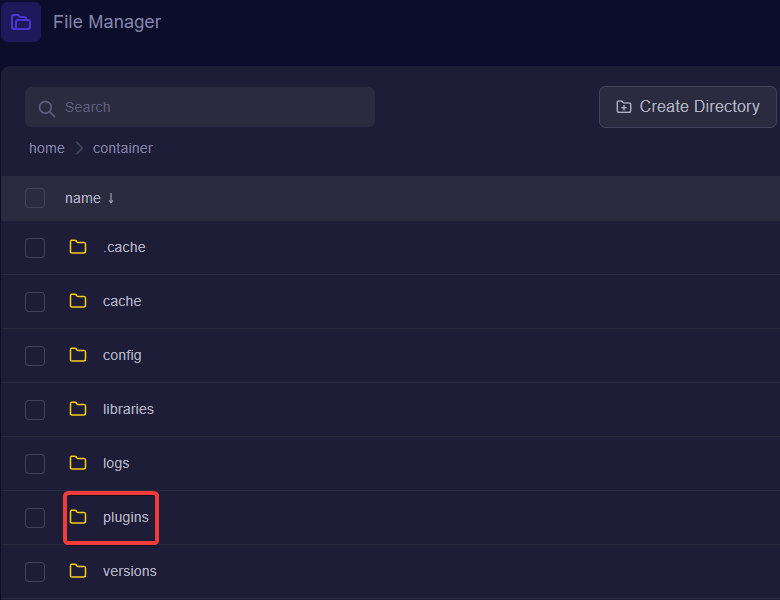
- Download Your Plugin
Obtain the plugin.jarfile from trusted sources:Ensure the plugin version matches your server type (Paper, Spigot, or Bukkit) and version.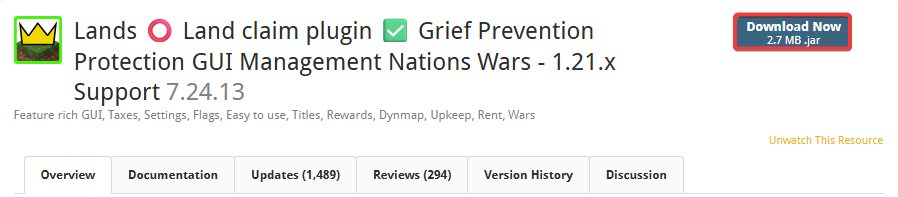
- Upload the Plugin
Upload the plugin.jarfile into thepluginsfolder.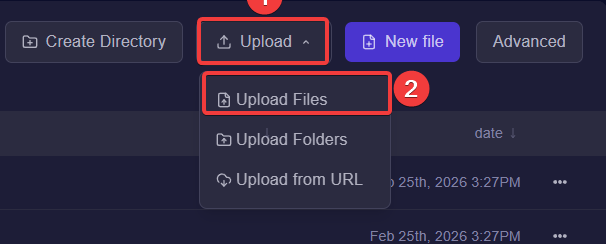
- Restart Your Server
Restart your Minecraft server from your control panel to load the plugin.
- Verify Installation
Log in and run the plugin’s commands to confirm it works. Check the console for any errors.This ensures the plugin installed correctly.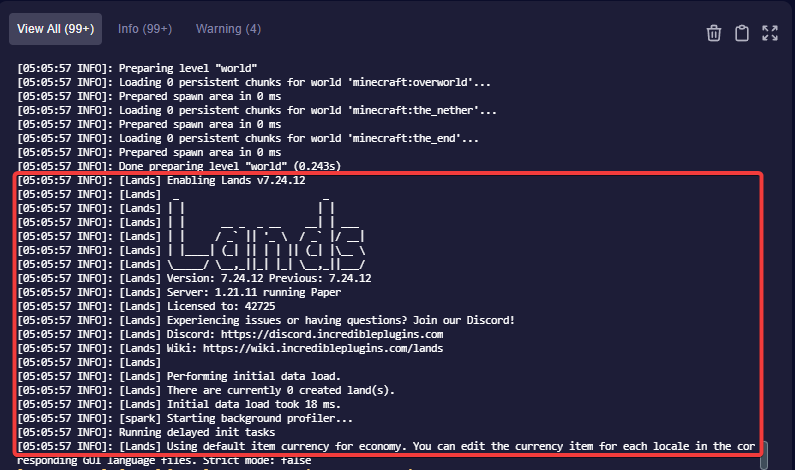
Tips & Notes
- Always back up your server before installing new plugins.
- Only use plugins compatible with your server type and version.
- If a plugin causes issues, remove it from the
pluginsfolder and restart the server.
